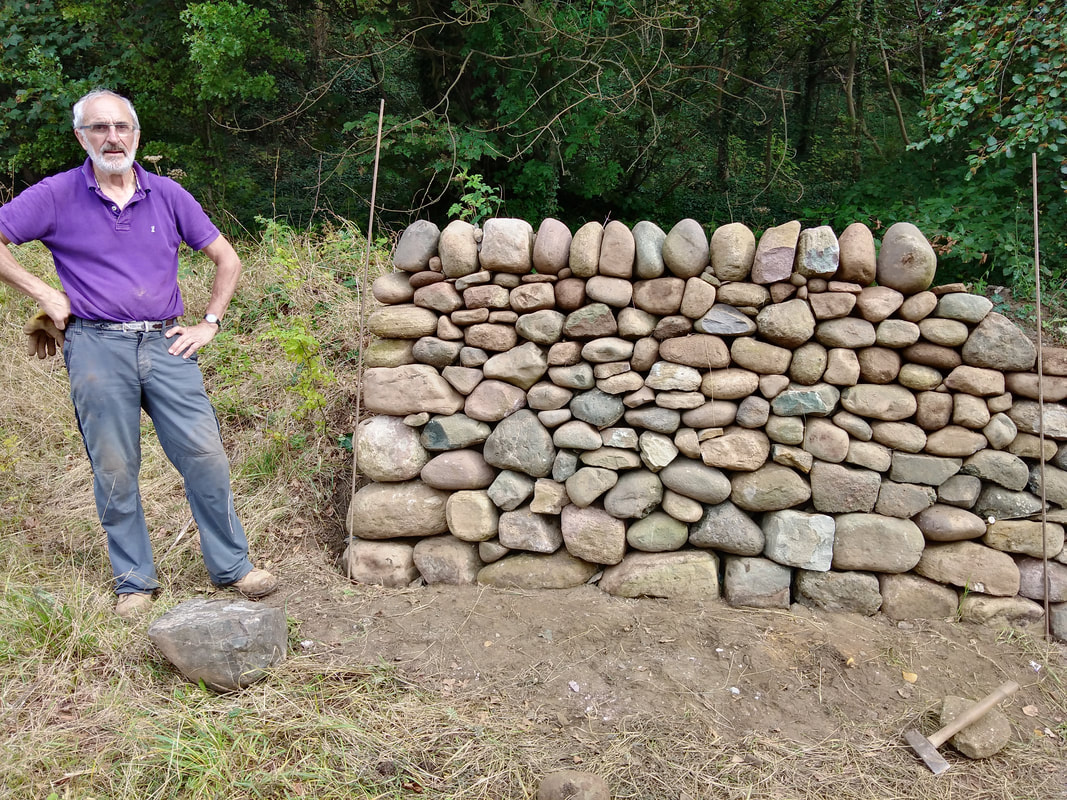
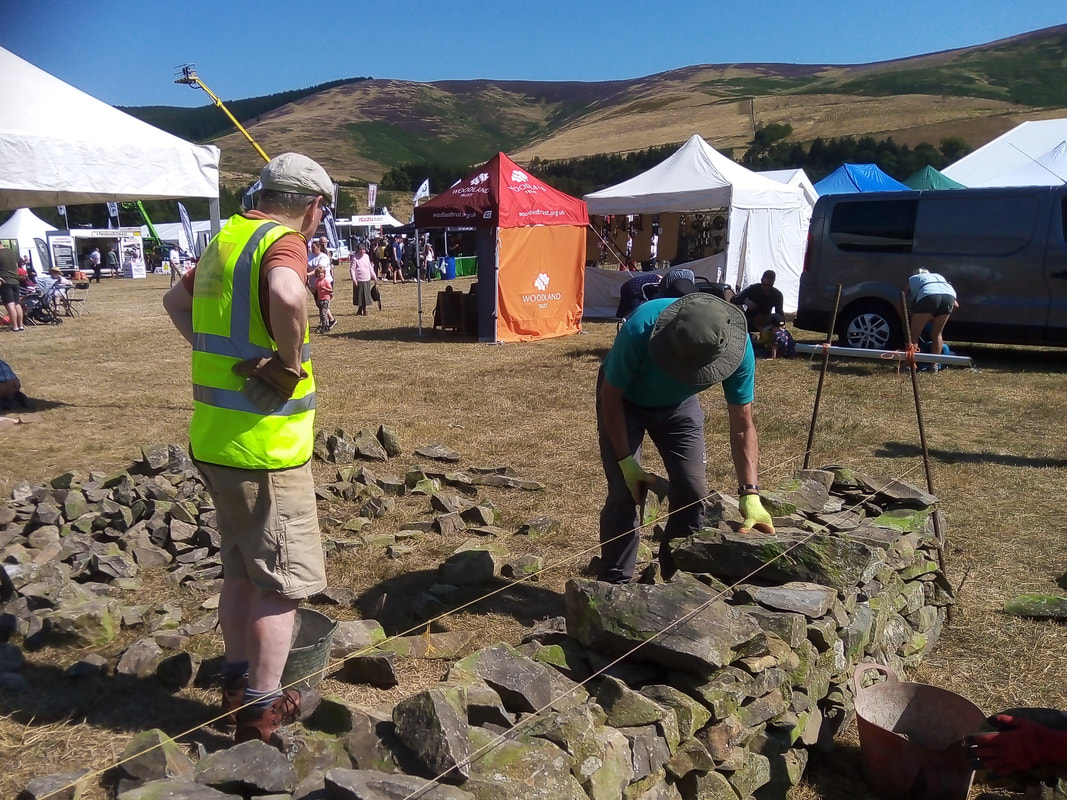
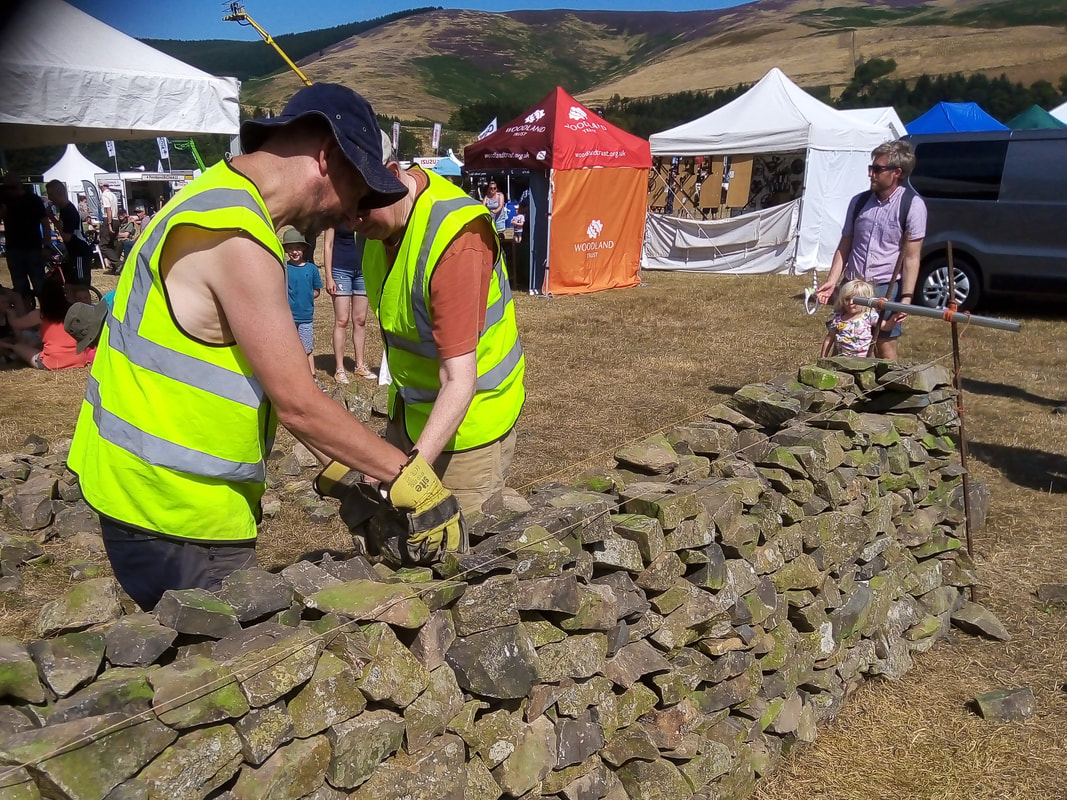
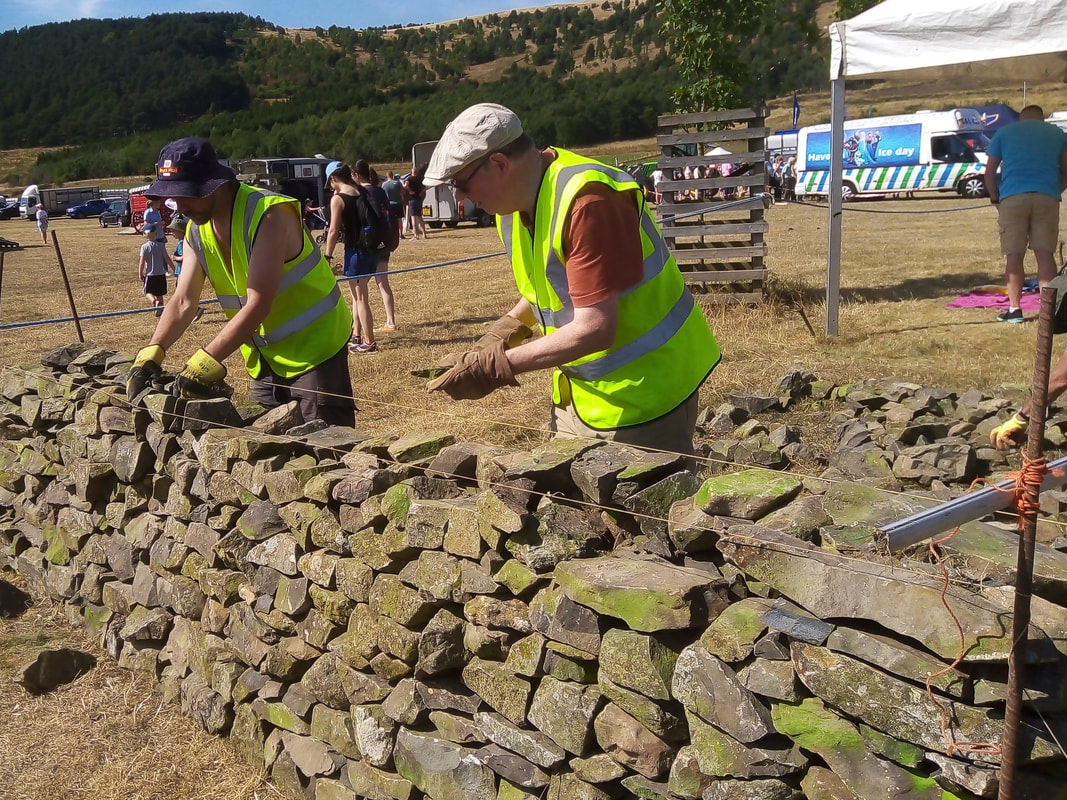
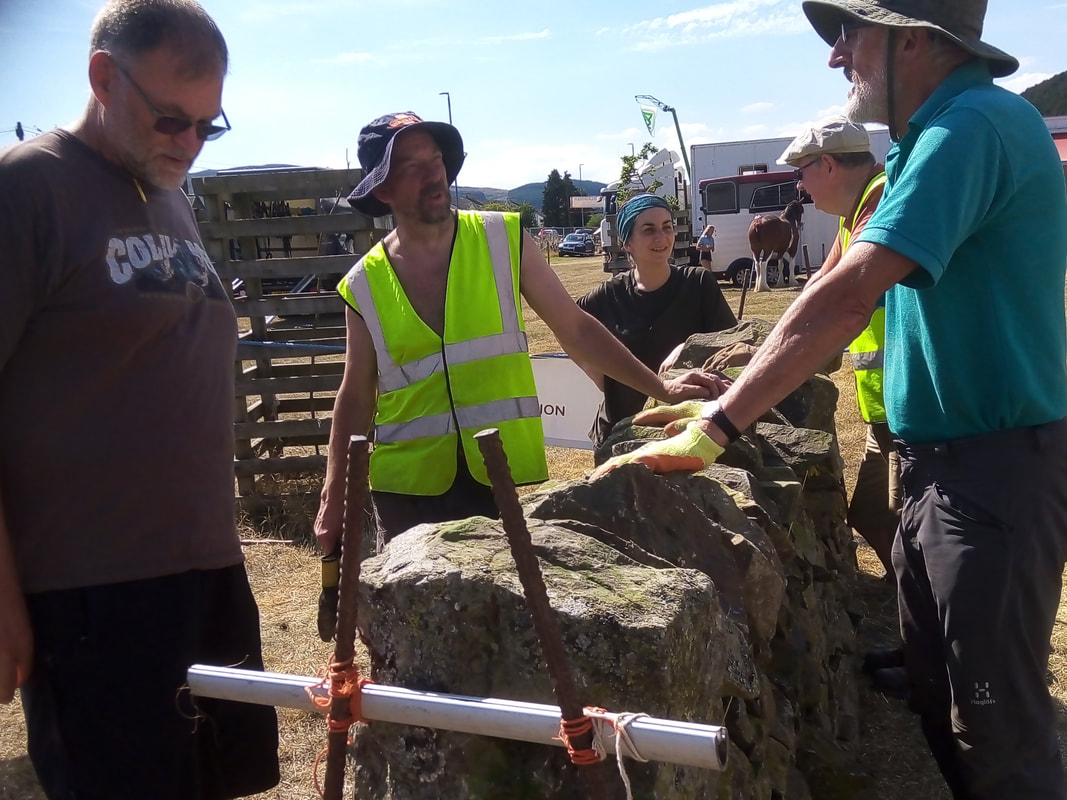
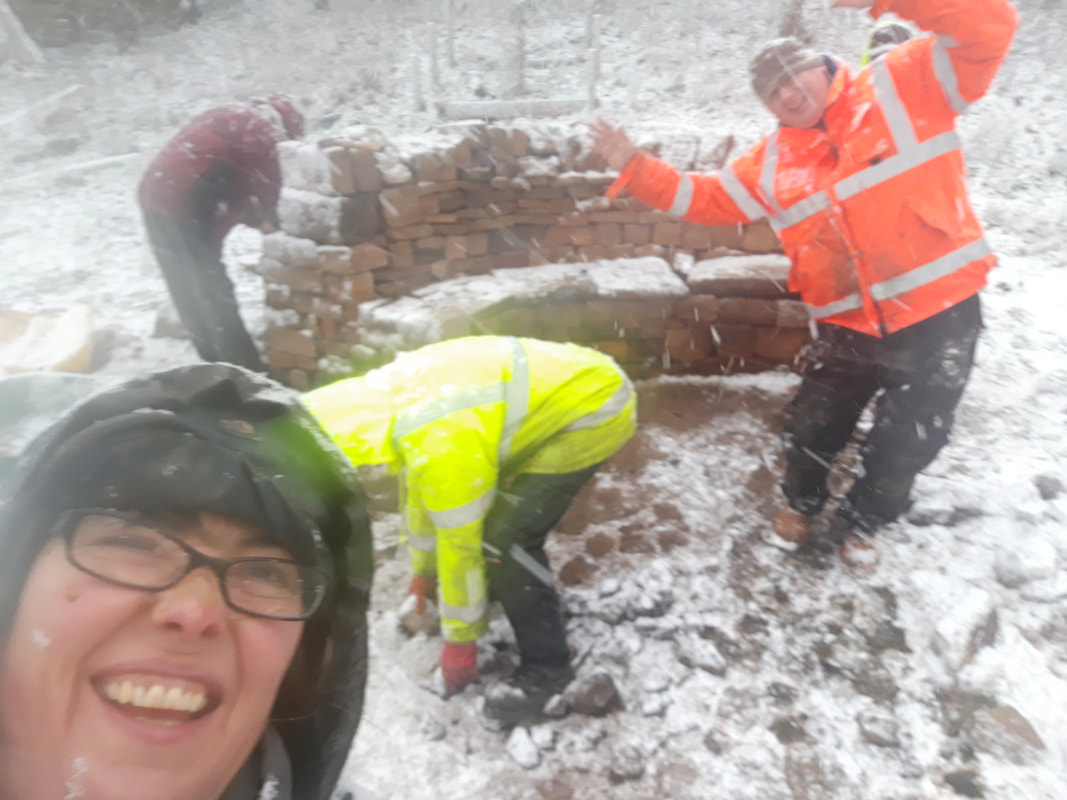
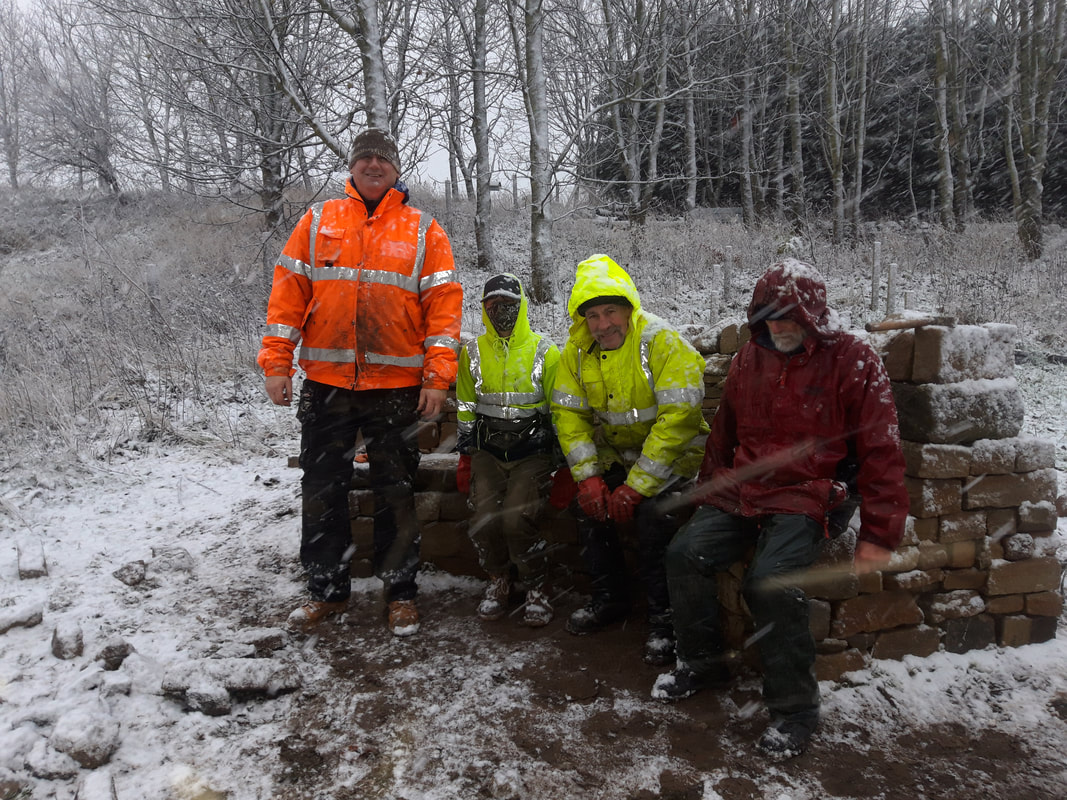
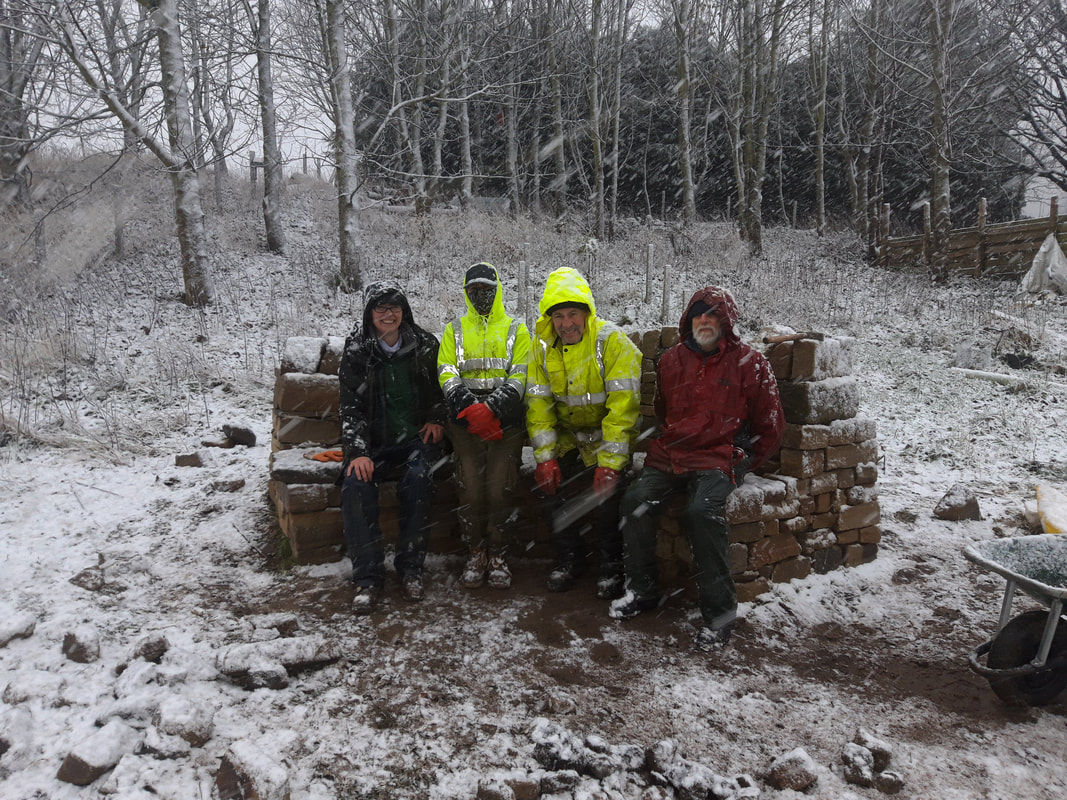
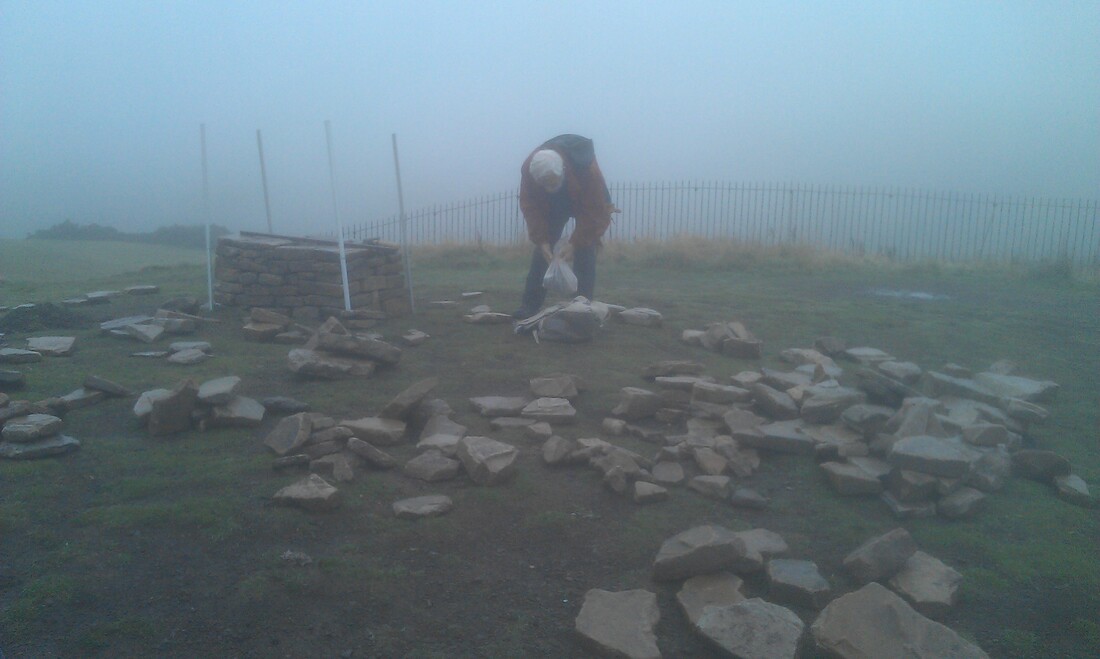
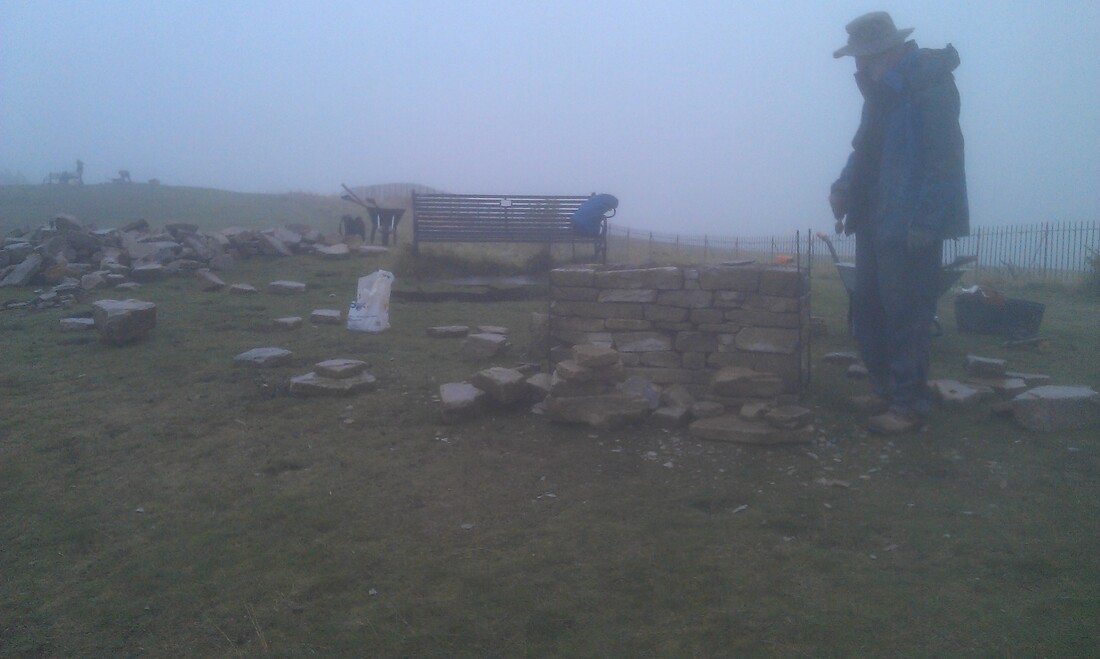
Our chairman, Richard Love, has provided this report from work done recently on a retaining wall at our training site at the Scottish Lime Centre at Merryhill in Fife - thanks also to Rosie for the photos.
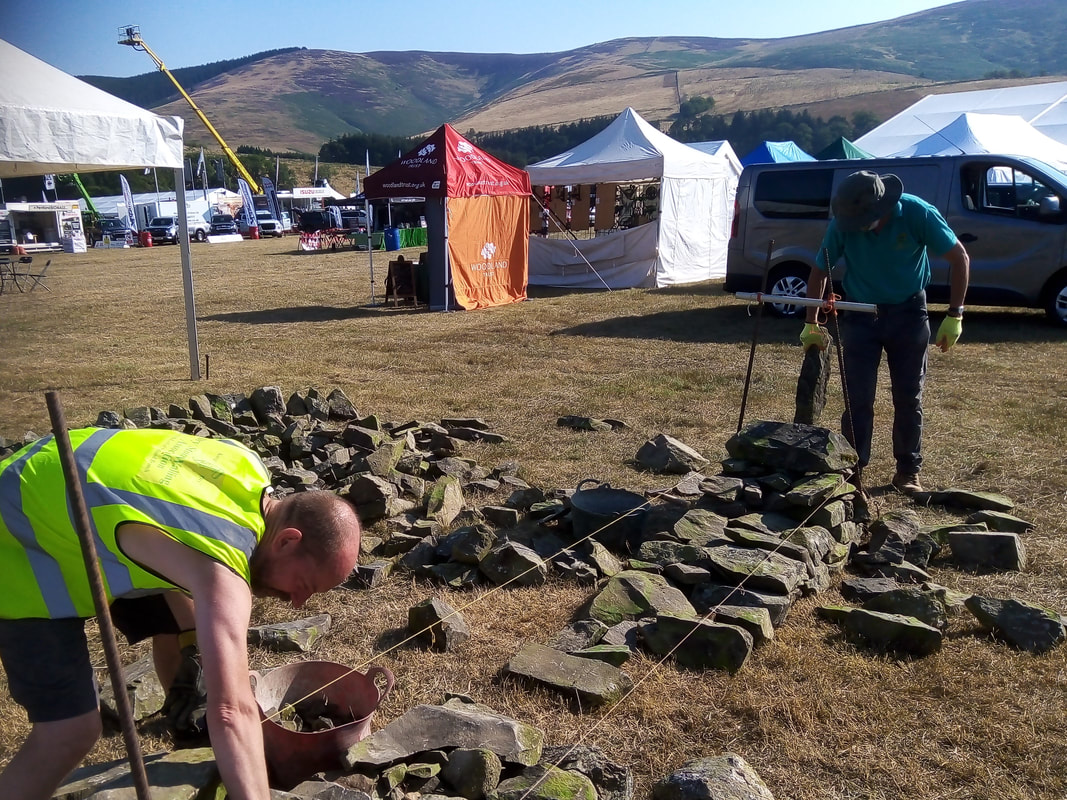
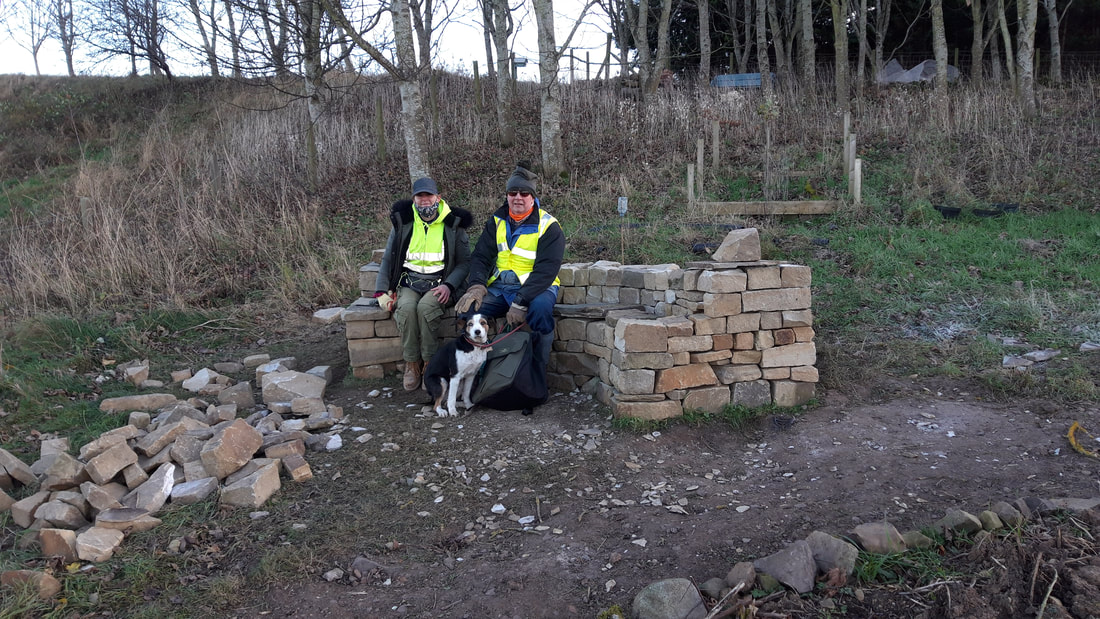
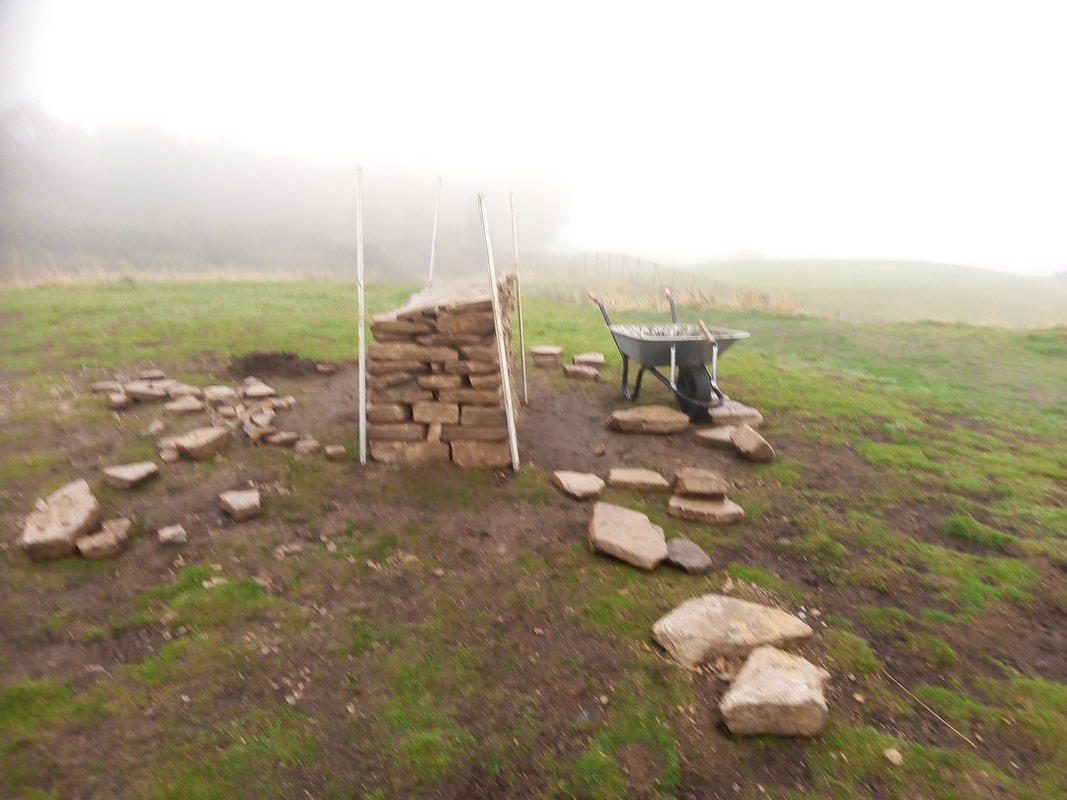
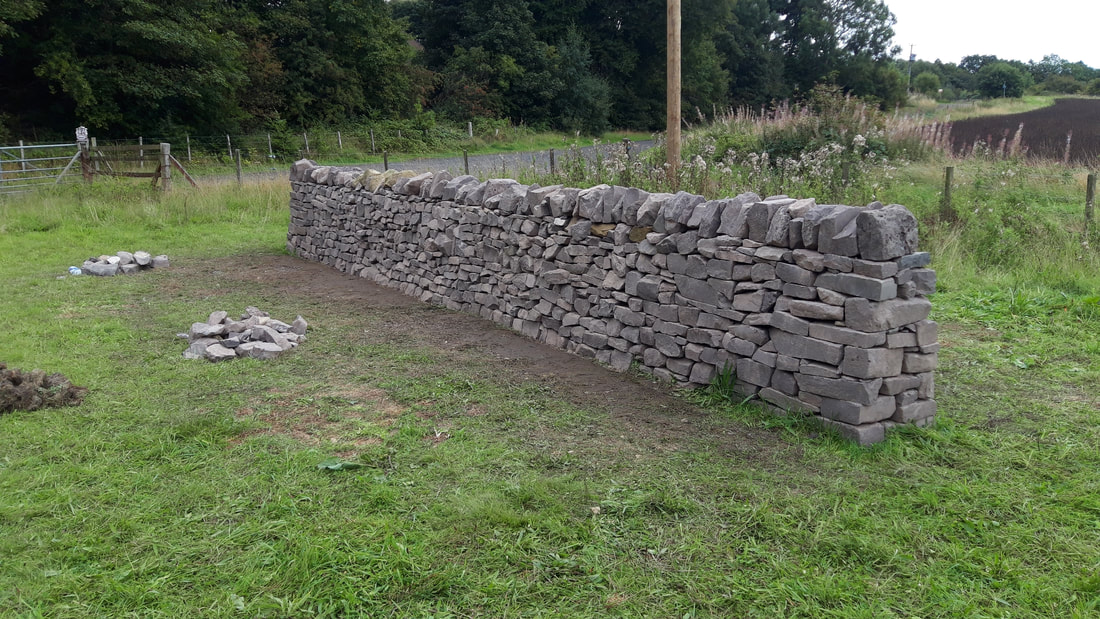
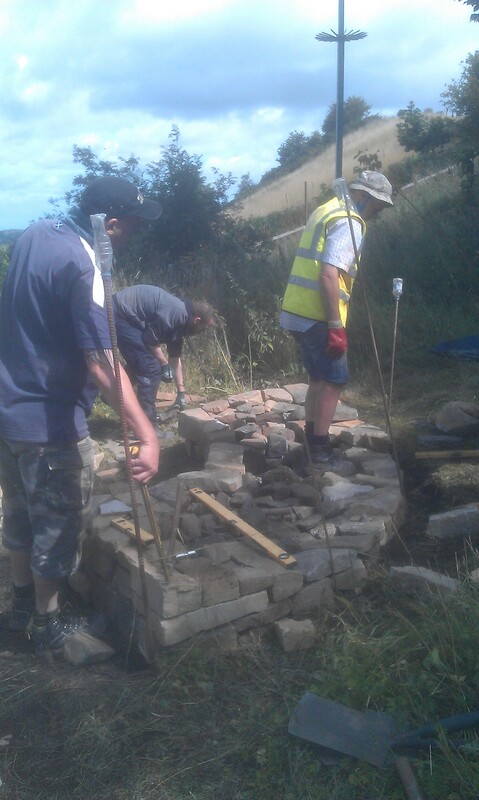
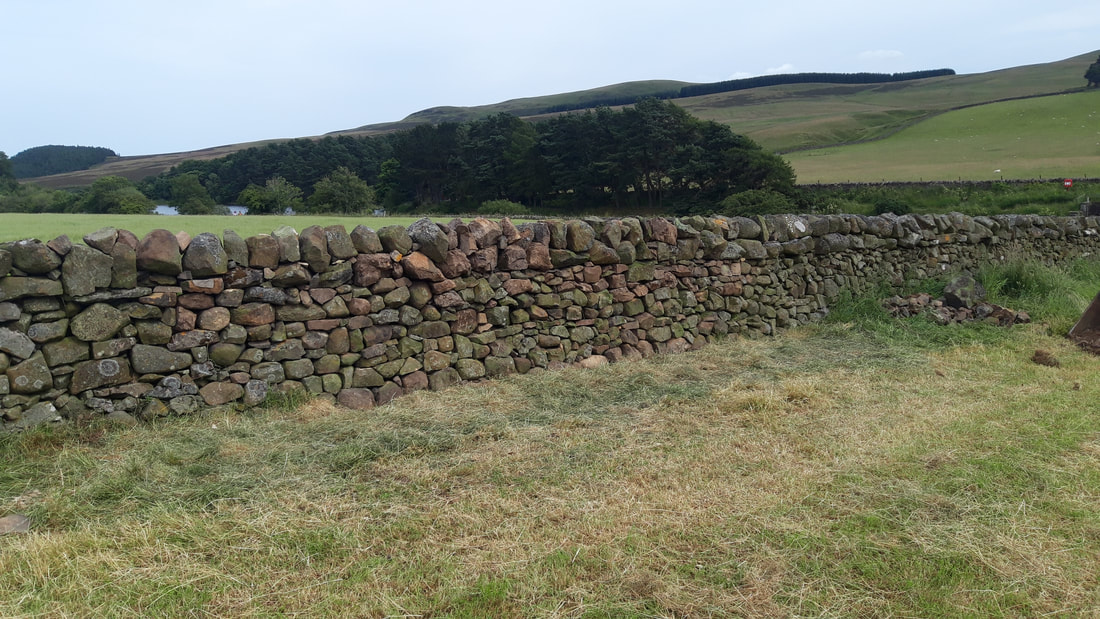
On Sunday 28 August I picked up Alan from the bus station and we headed off to Merryhill to carry on constructing a decent length of retaining wall (revetment in Dave-speak). There were just the two of us and Alan managed to shift a few barrowloads from the shrinking pile of rounded bouldery stone down to the site of the wall, where I had cleared enough grassy bank for a good solid foundation to go in. We worked on separate sections and hoped to complete some of it on our next visit.
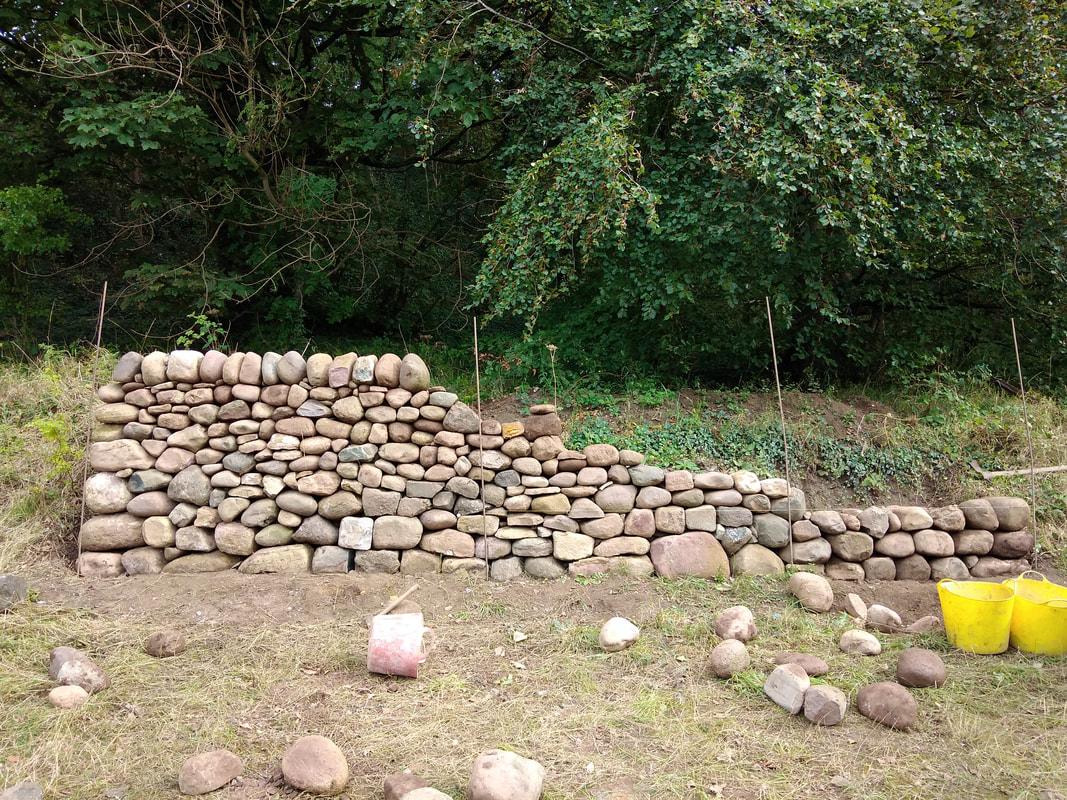
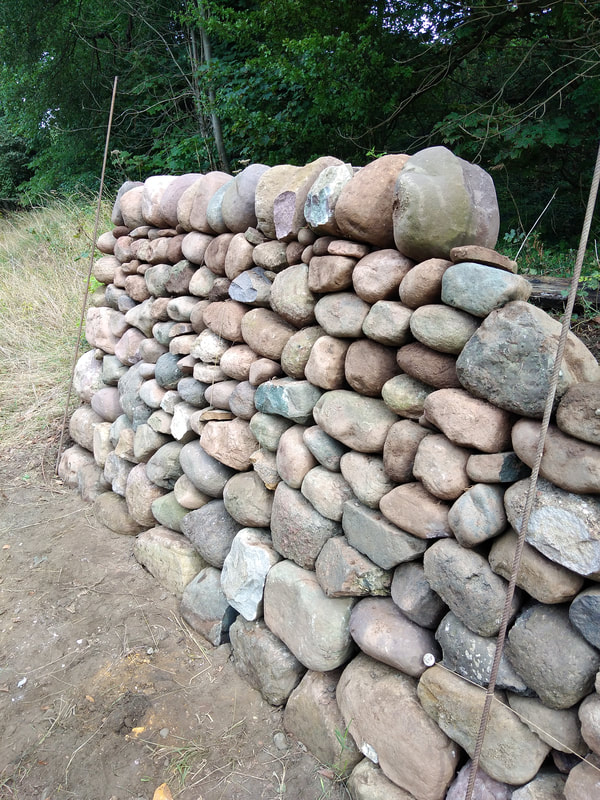
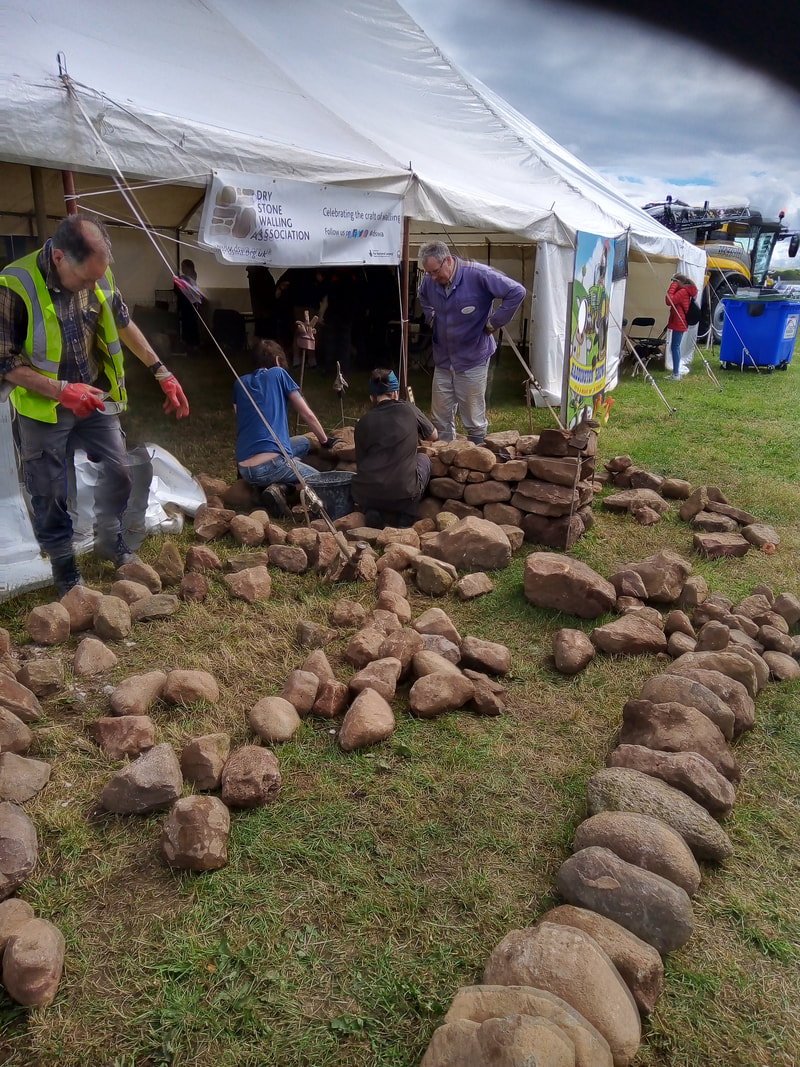
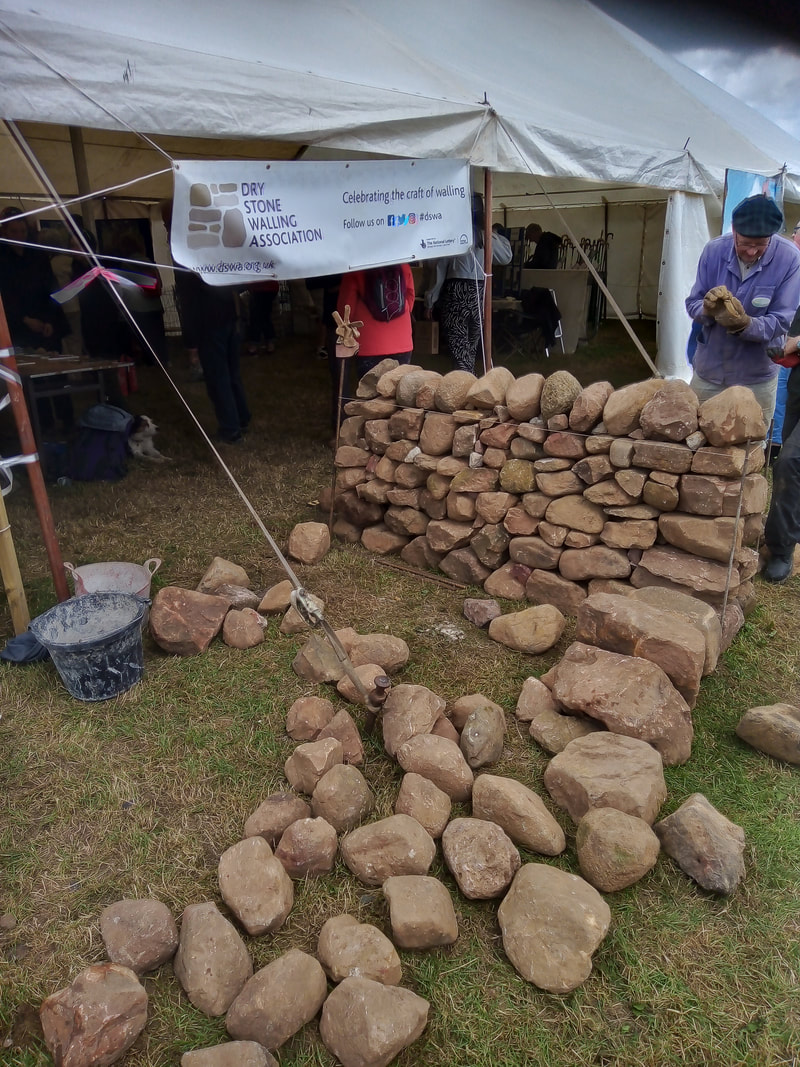
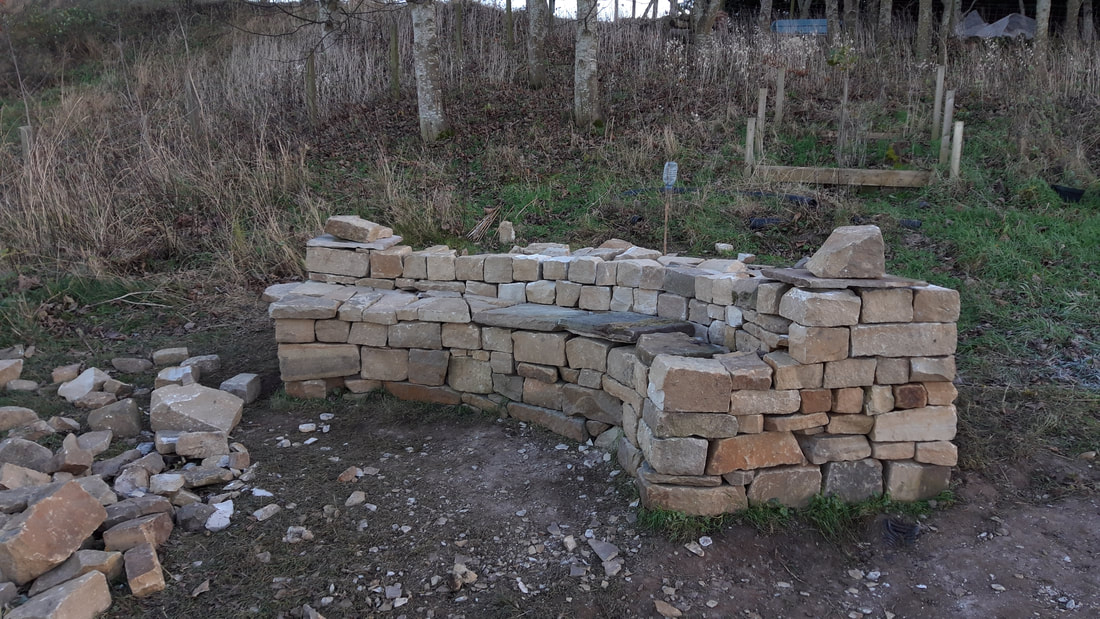
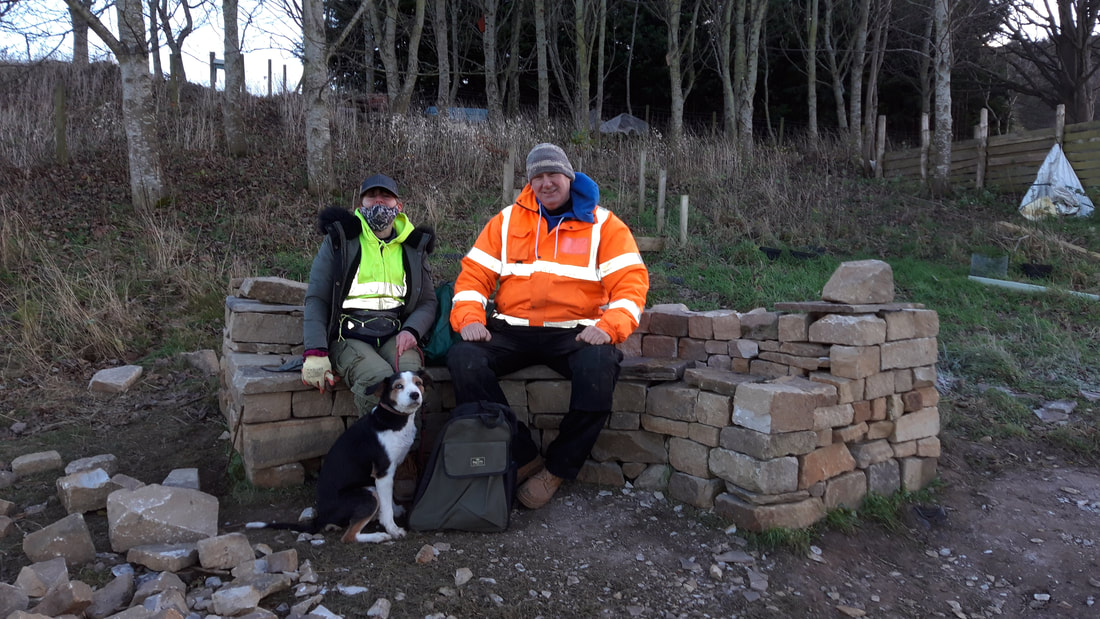
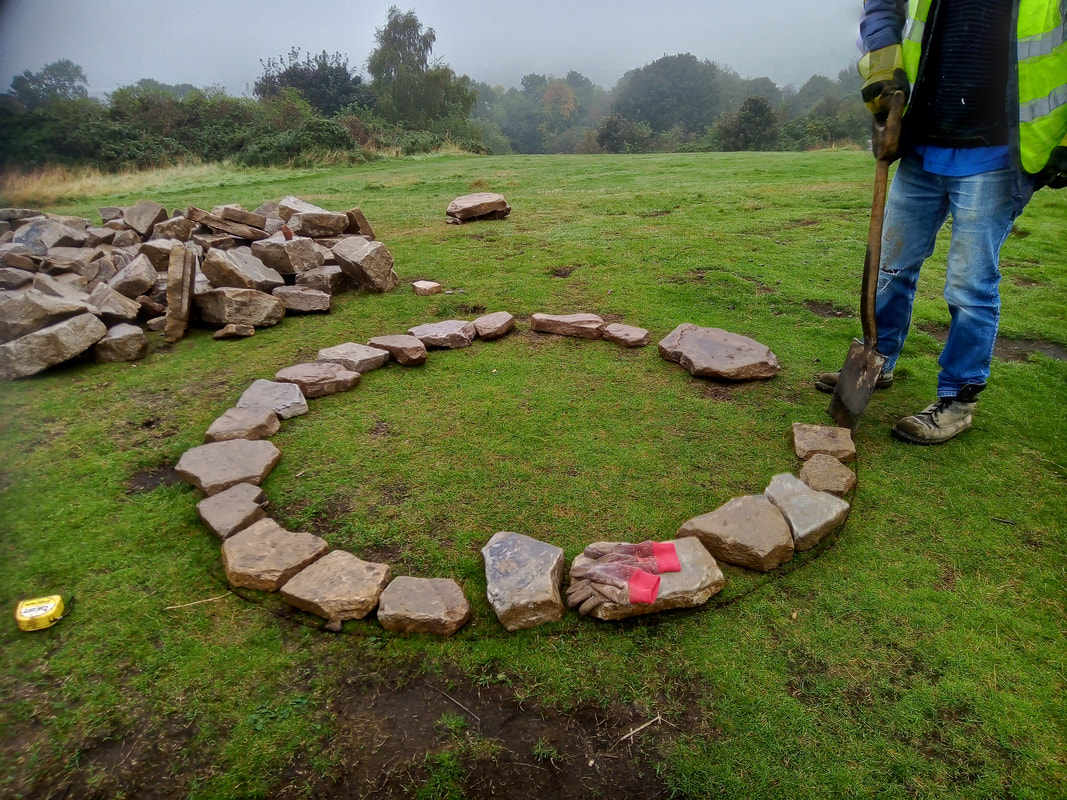
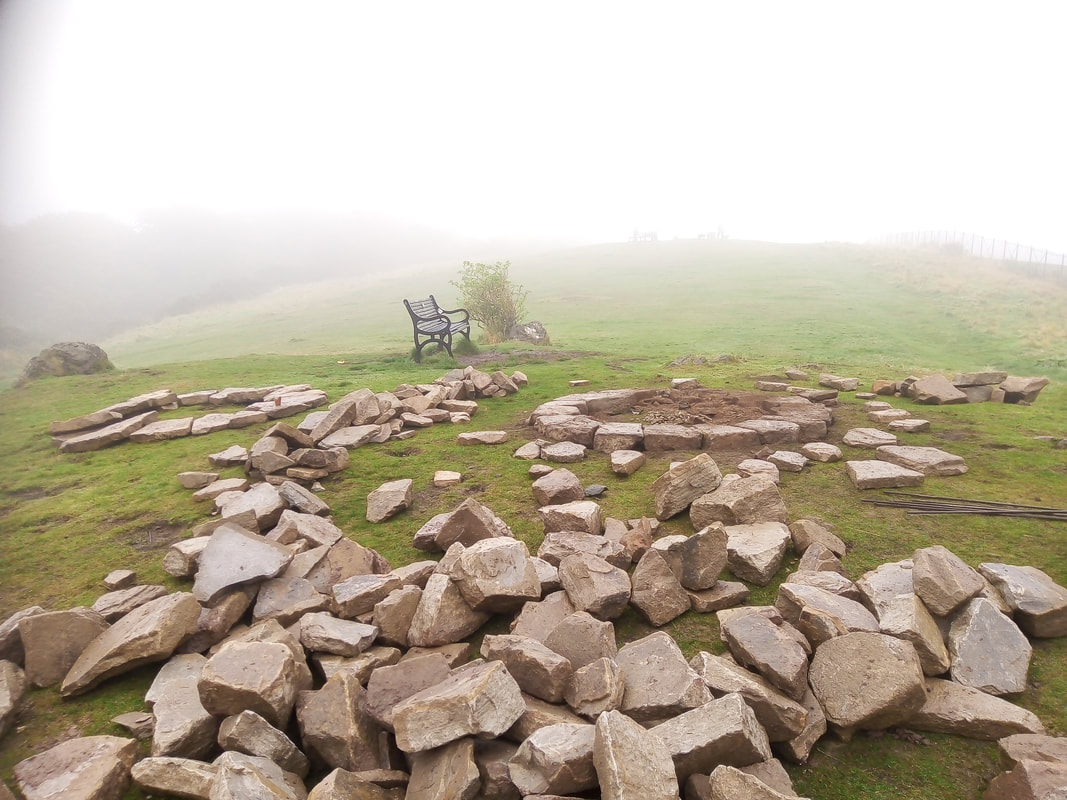
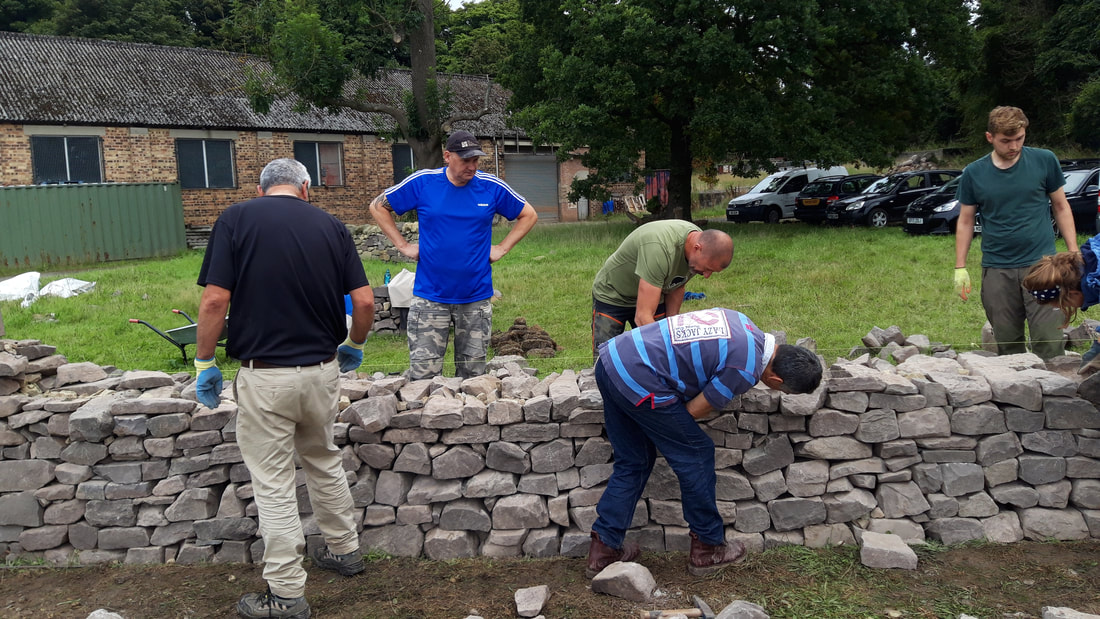
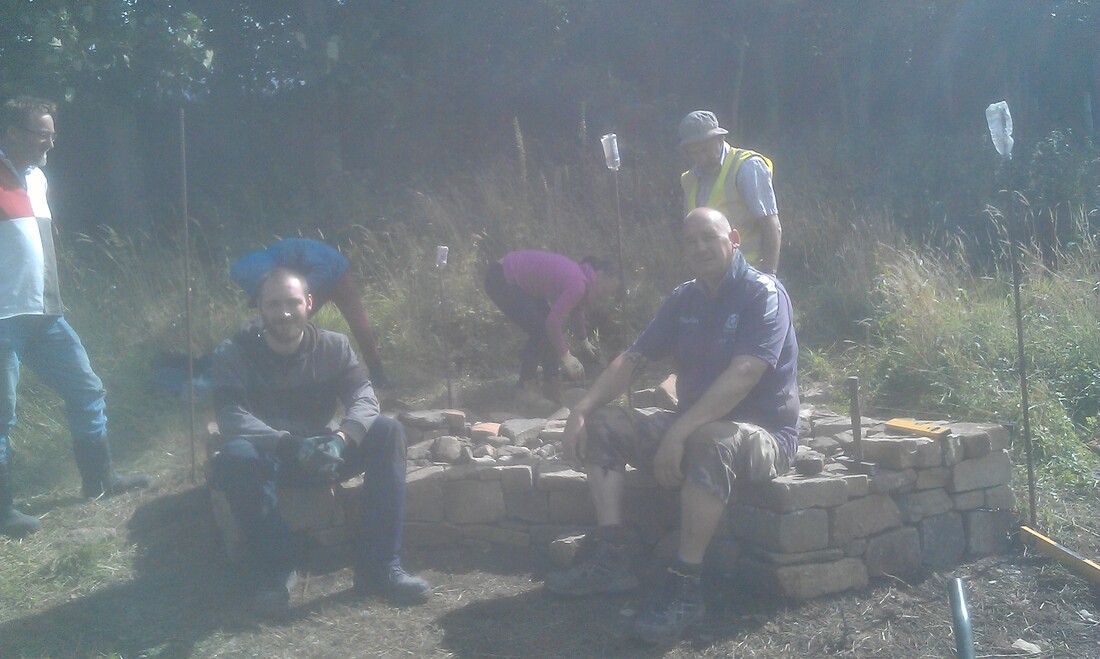
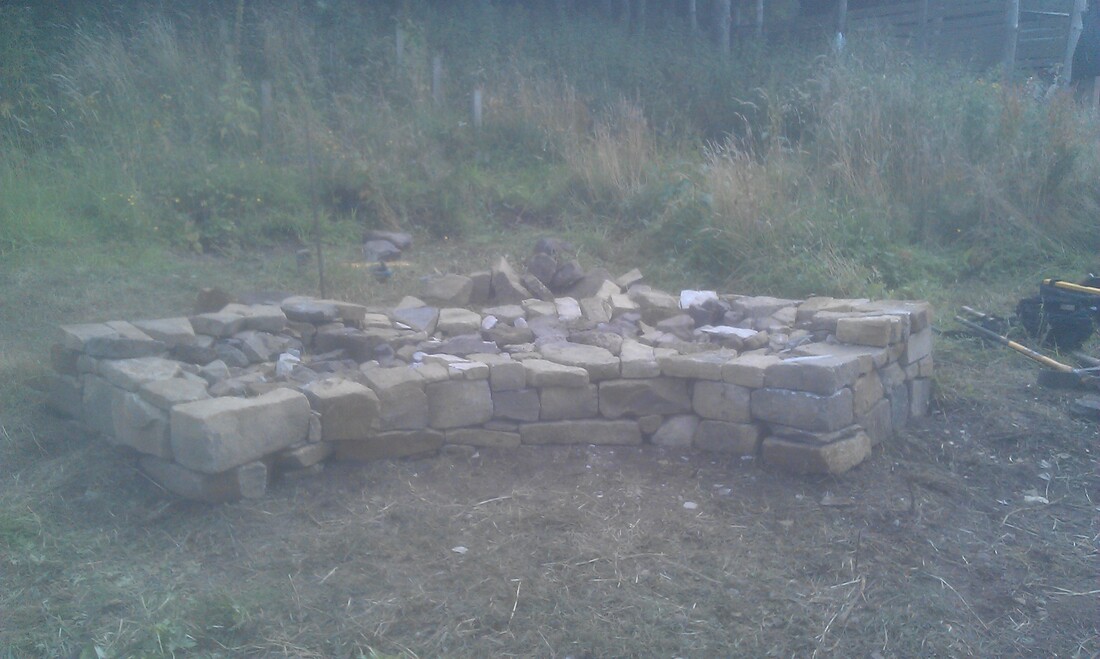
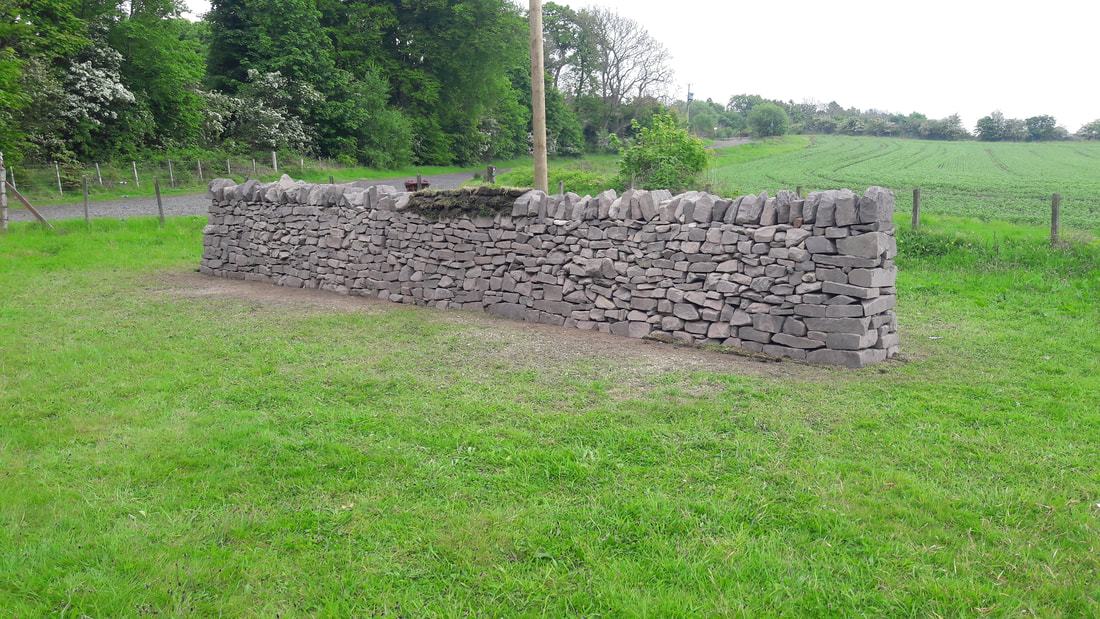
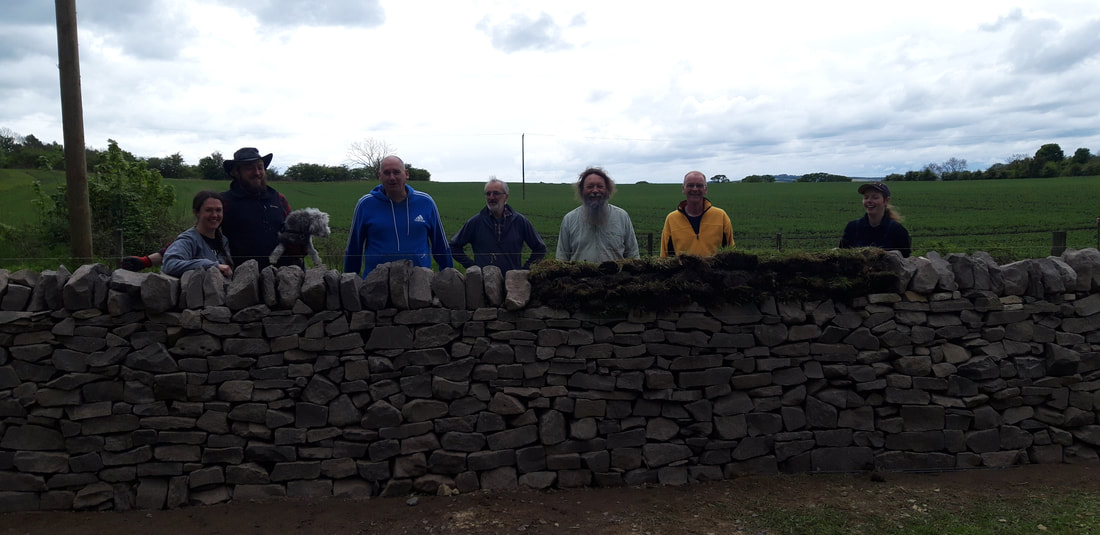
On Saturday 3 September John D had to call off with a broken tooth but I was joined by Rosie, who had not worked on a retaining wall before, and we barrowed much more stone from the pile. This is getting increasingly welded together with the dried mud which accompanied the original load, so mattock and spade were needed to prise pieces apart. As you’ll see from the pictures, one section of the wall has been coped, another half-finished and a final section started by Rosie, who declared that she really enjoyed working with this stone on this wall.
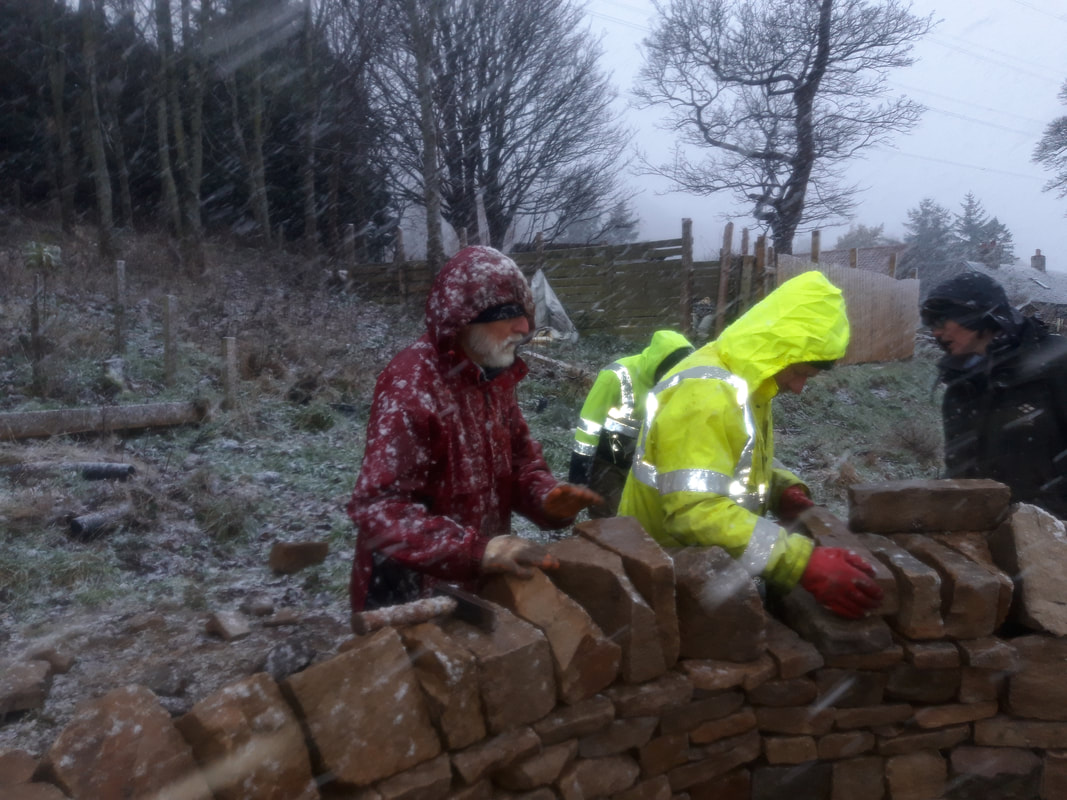
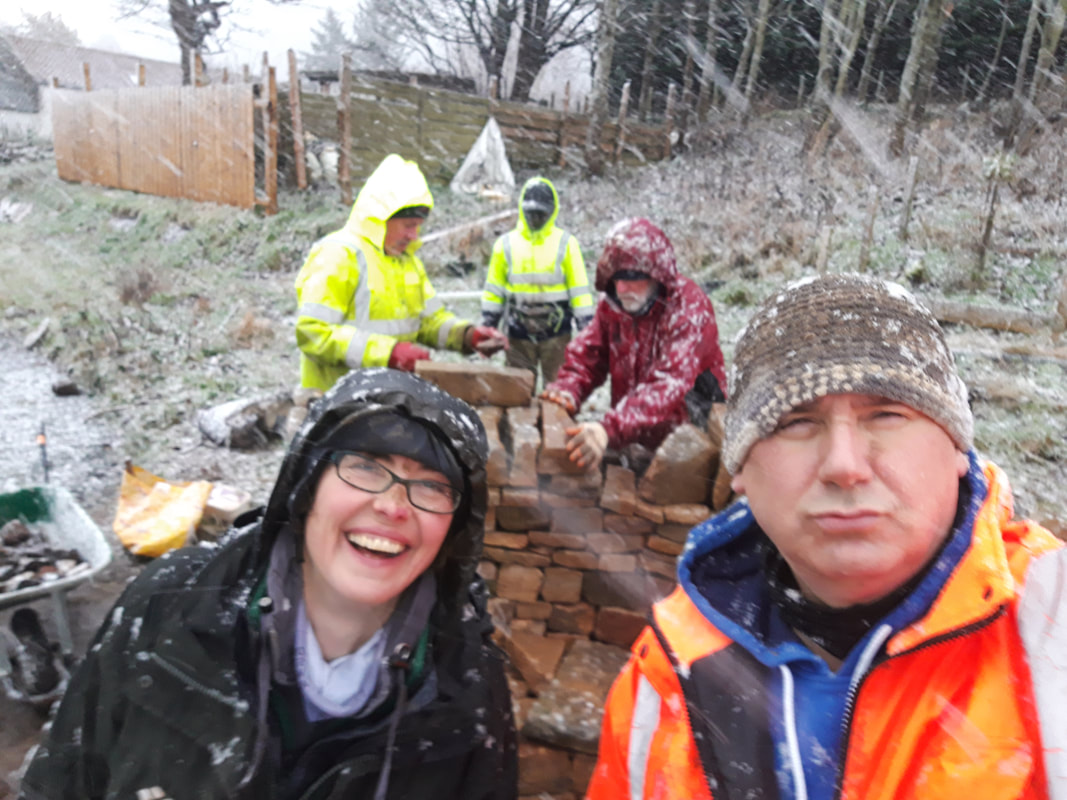
My next visit there will be in two weeks for our last training course, so if anyone wishes to turn up, feel free to join us and complete the retaining wall.
Richard
On Sunday 28 August I picked up Alan from the bus station and we headed off to Merryhill to carry on constructing a decent length of retaining wall (revetment in Dave-speak). There were just the two of us and Alan managed to shift a few barrowloads from the shrinking pile of rounded bouldery stone down to the site of the wall, where I had cleared enough grassy bank for a good solid foundation to go in. We worked on separate sections and hoped to complete some of it on our next visit.
On Saturday 3 September John D had to call off with a broken tooth but I was joined by Rosie, who had not worked on a retaining wall before, and we barrowed much more stone from the pile. This is getting increasingly welded together with the dried mud which accompanied the original load, so mattock and spade were needed to prise pieces apart. As you’ll see from the pictures, one section of the wall has been coped, another half-finished and a final section started by Rosie, who declared that she really enjoyed working with this stone on this wall.
My next visit there will be in two weeks for our last training course, so if anyone wishes to turn up, feel free to join us and complete the retaining wall.
Richard


 RSS Feed
