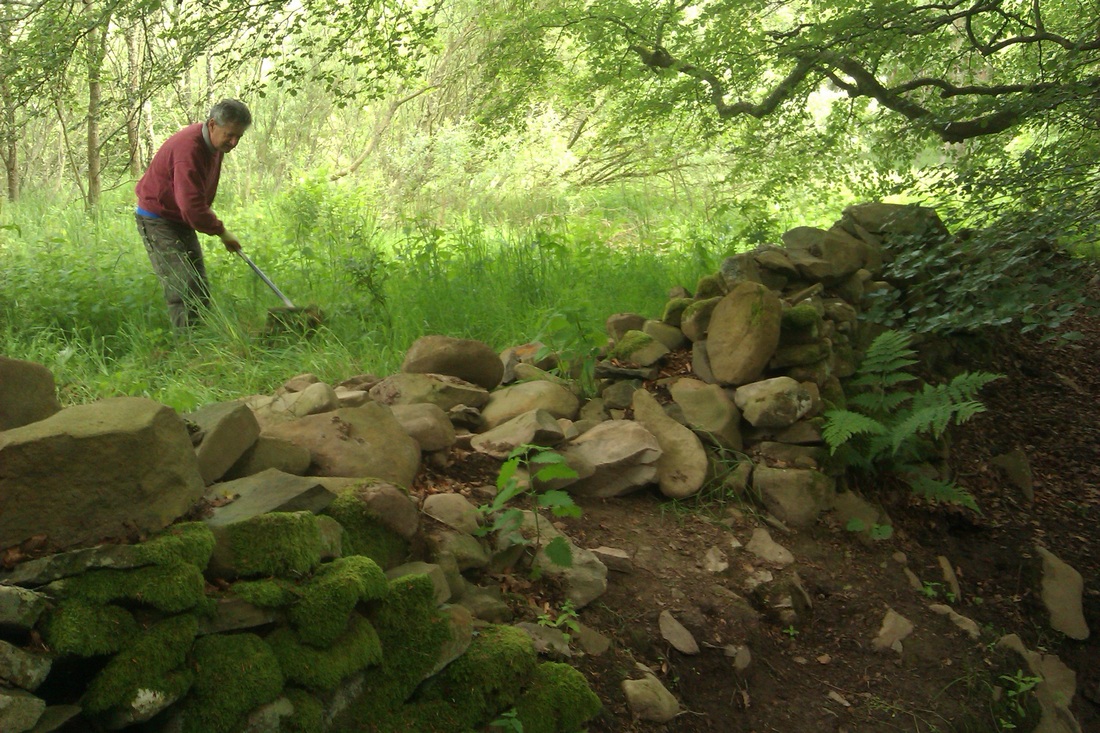
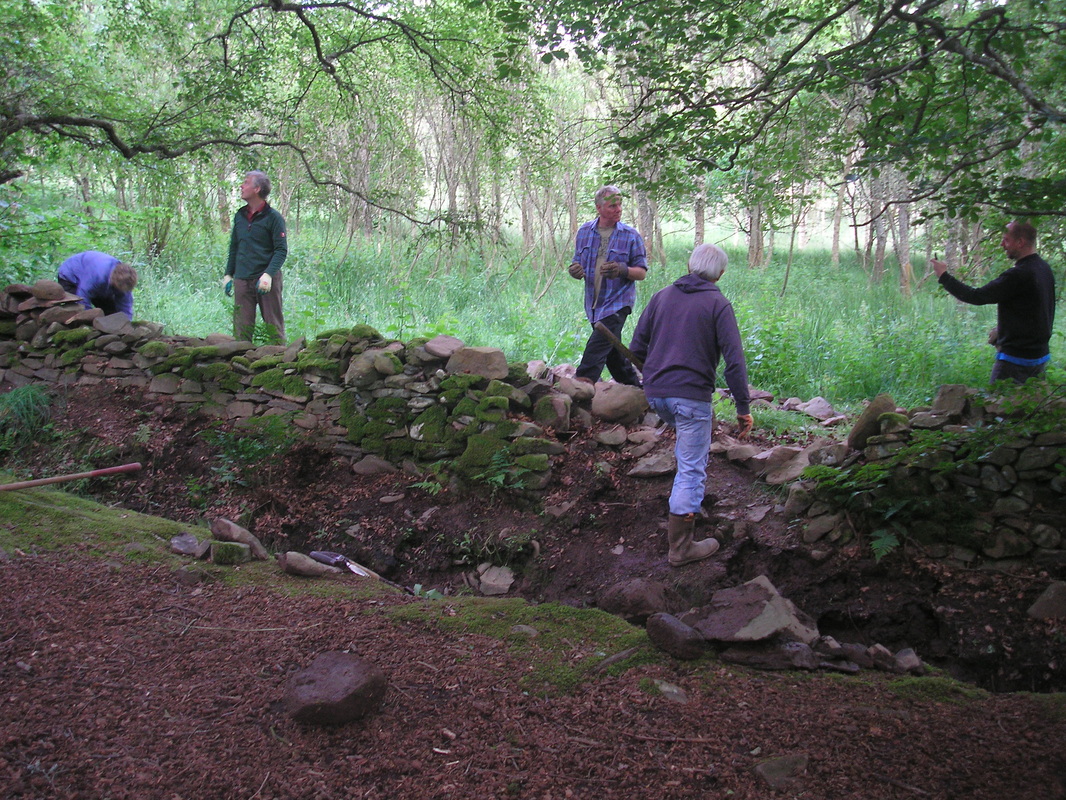
On Sunday (that'll be yesterday) half a dozen branch members rebuilt a section of collapsing (and in one place, collapsed) wall at Wooplaw Community Woodland (www.wooplaw.org.uk). The wall is beside a ditch - fortunately only a bit damp and muddy just now, but in winter it turns into a proper stream which had softened the ground and caused the foundations to give way.
It looked like the gap had maybe been used as a short cut as well, at some point in the past.
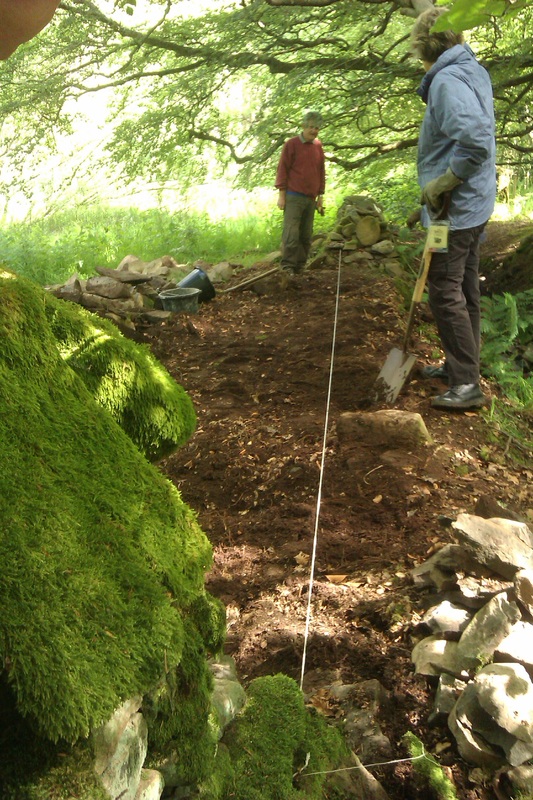
The initial plan had been just to repair the gap, but rebuilding on the same line seemed just to be asking to have it all collapse back into the ditch again. So, after some discussion, we decided to take it all down to a point a few meters upstream where it stood a bit further back from the ditch, and then rebuild on a new line, hopefully now out of harm's way.
I was a bit worried that we'd've lost a lot of the original stone into the mud at the bottom of the ditch, but actually there seemed to be plenty.
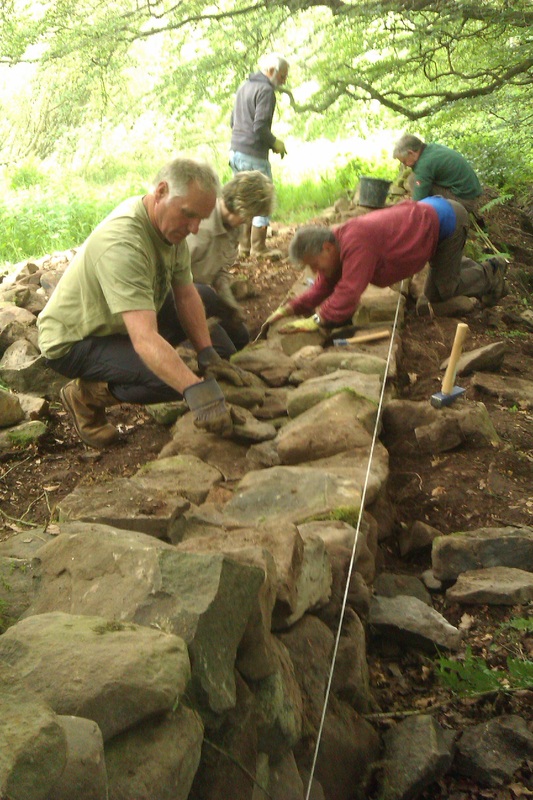
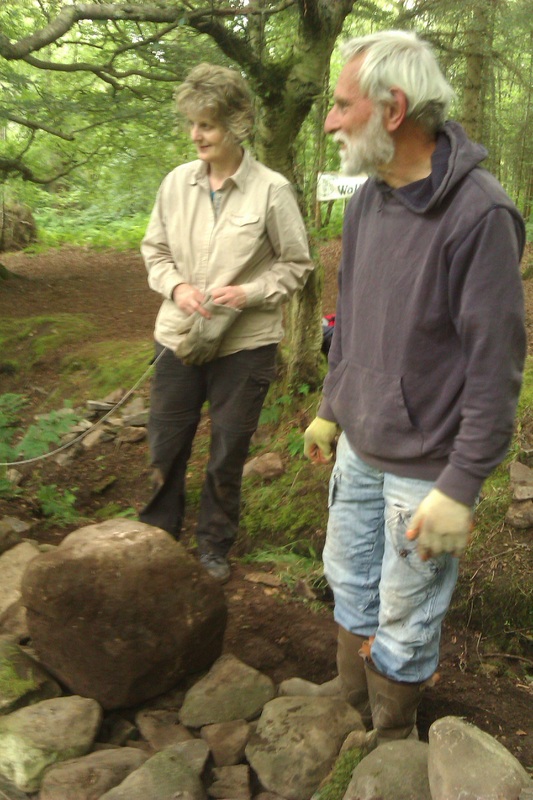
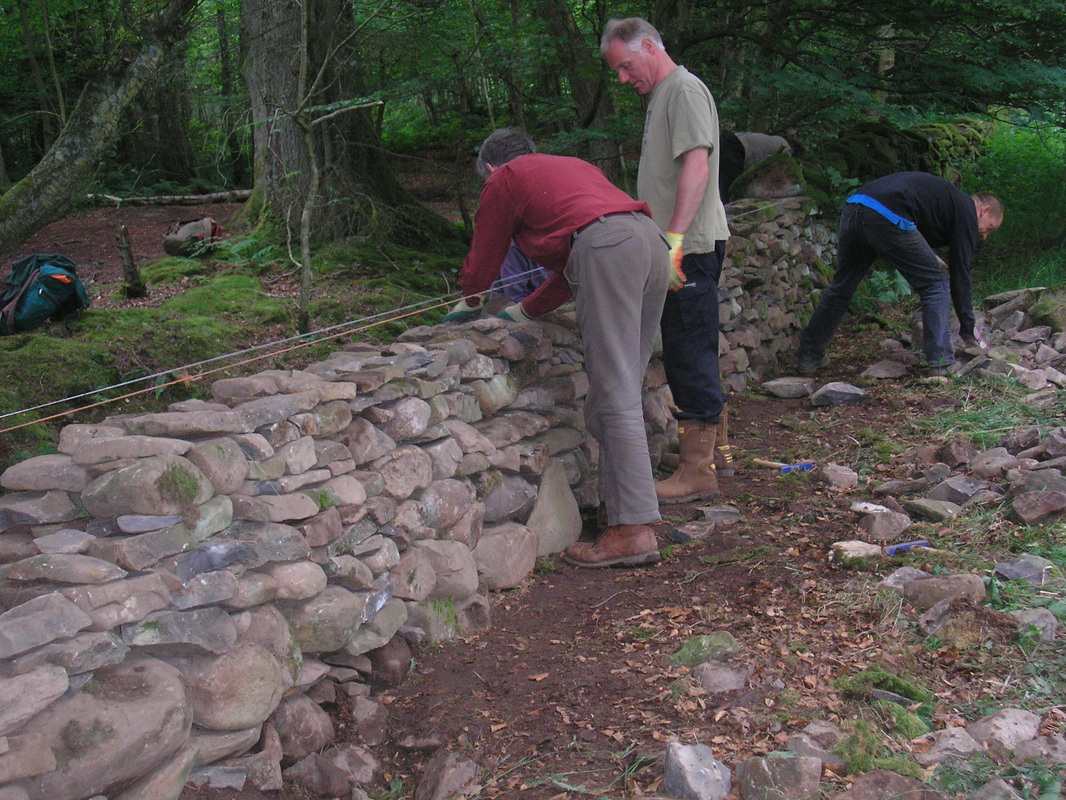
There was one big stone which we'd wimped out of moving (you can see it in the photo above with a hammer on it, and in the one above that sitting outside the new line of the wall). But Alan decided that it was too good a stone not to use. So, despite efforts to persuade him otherwise, he dug it out, and with a little help put it on the wall.
It was big enough that it was still sticking up when we got up to through level.
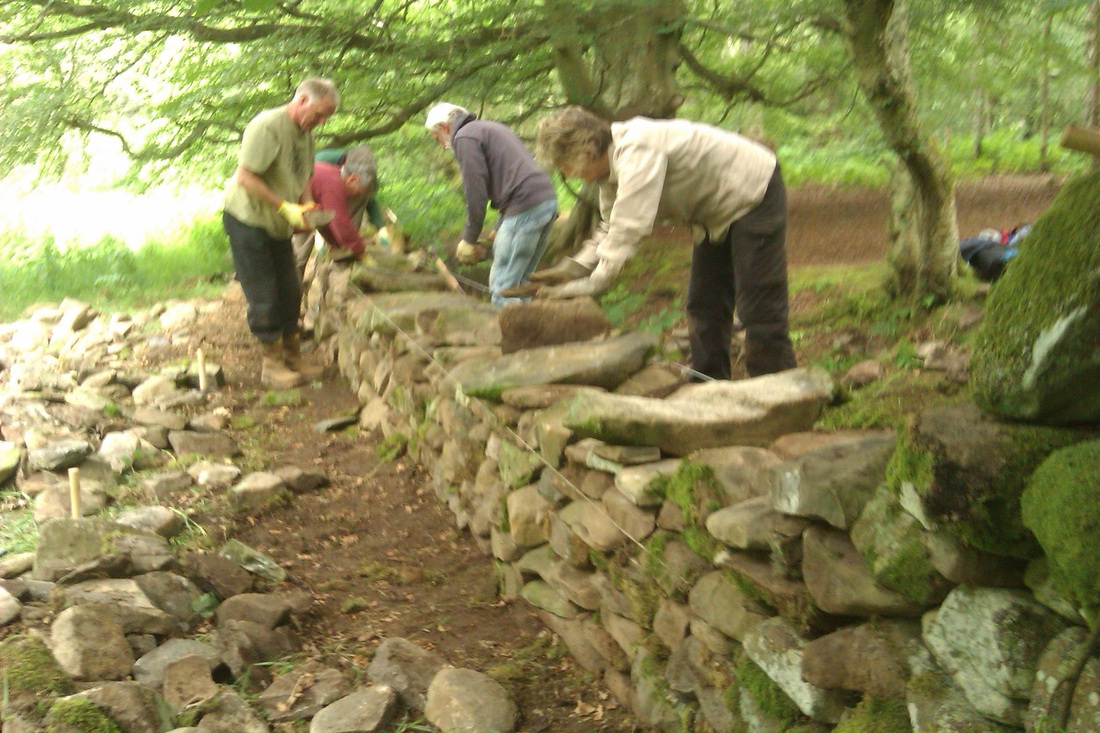
And by late afternoon we'd got up to cover height (having finally covered Alan's muckle stane).
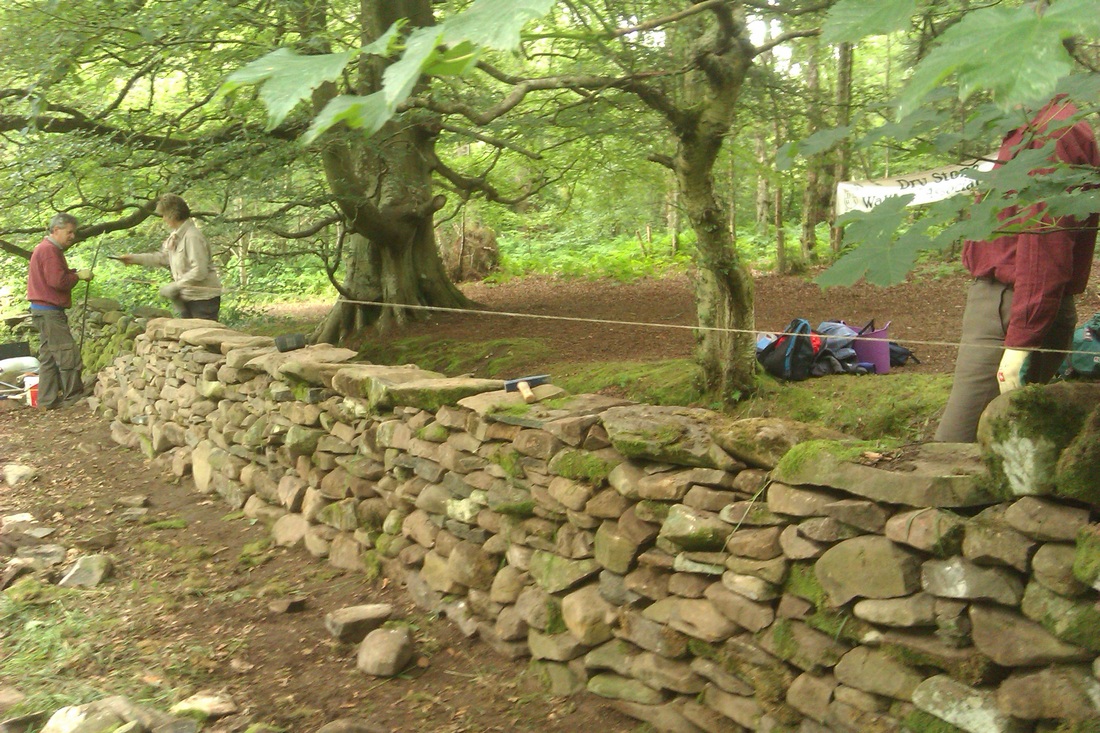
We were a bit short of copes - maybe because these (being the first things to fall off the wall) were in the mud at the bottom of the ditch. But we put on what we had, and called it a day. We're heading back to Wooplaw in a month, so we'll have a chance to finish the coping, and to rebuild the bit downstream so that it also follows the new line.
So all in all it was a very productive day - seven or eight meters of wall taken down and rebuilt. And we didn't even get rained on.
Update 01/07:
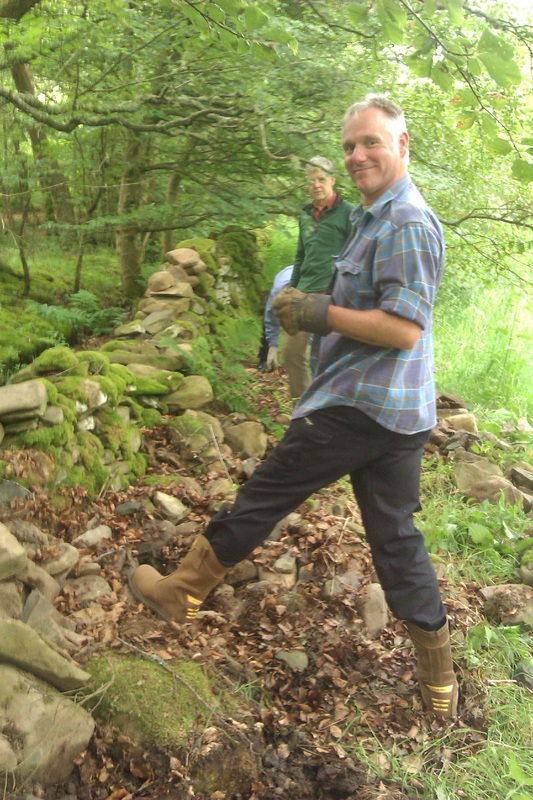
Mike's emailed out some more photos, so here they are ... this is how it looked before we started, with Alan demonstrating how the short cut worked (and me taking the top photo above).
Mike's emailed out some more photos, so here they are ... this is how it looked before we started, with Alan demonstrating how the short cut worked (and me taking the top photo above).
Ewan and Steve bringing the wall up to cover level (and proof that I don't just take photos of other people working).
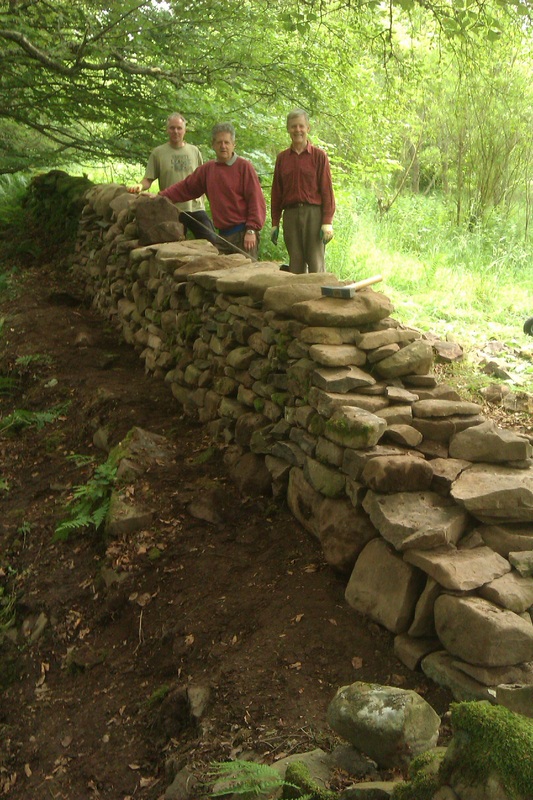
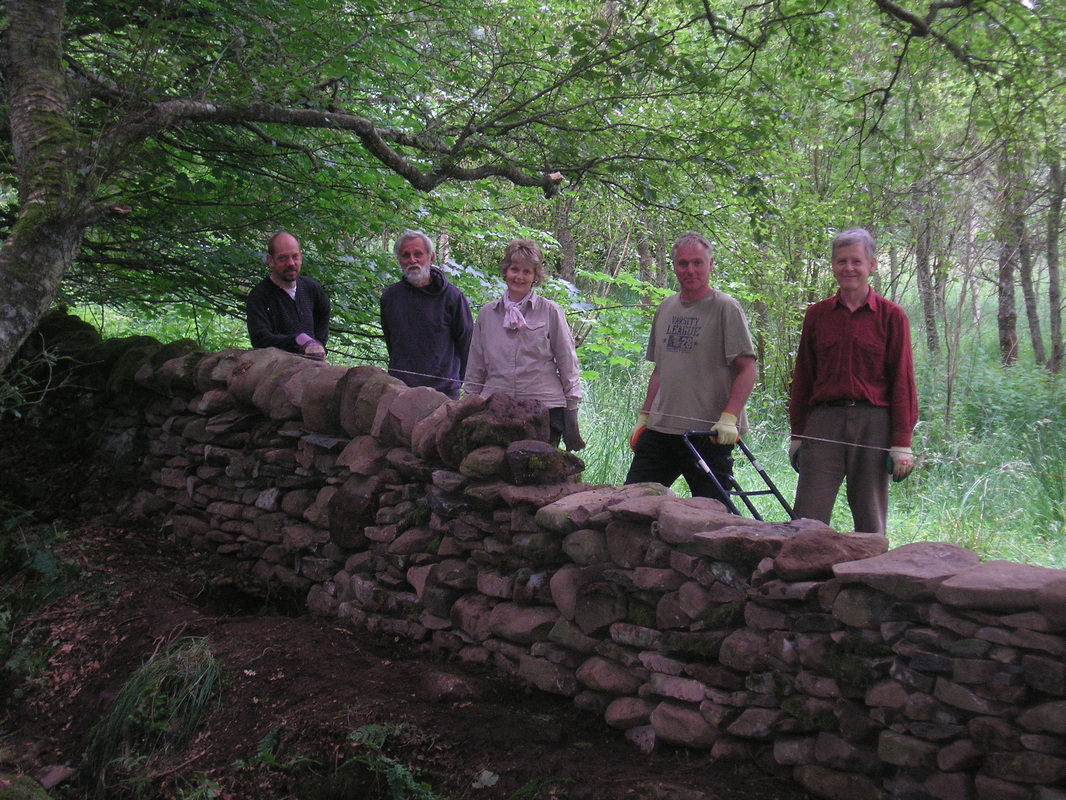
And the finished product (well, almost - check out next month's post to see it finally completed).
 RSS Feed
